The practical guide to Litematica controls, hotkeys, and placement habits after your schematic is already installed.
Written by maintainer of donut.build
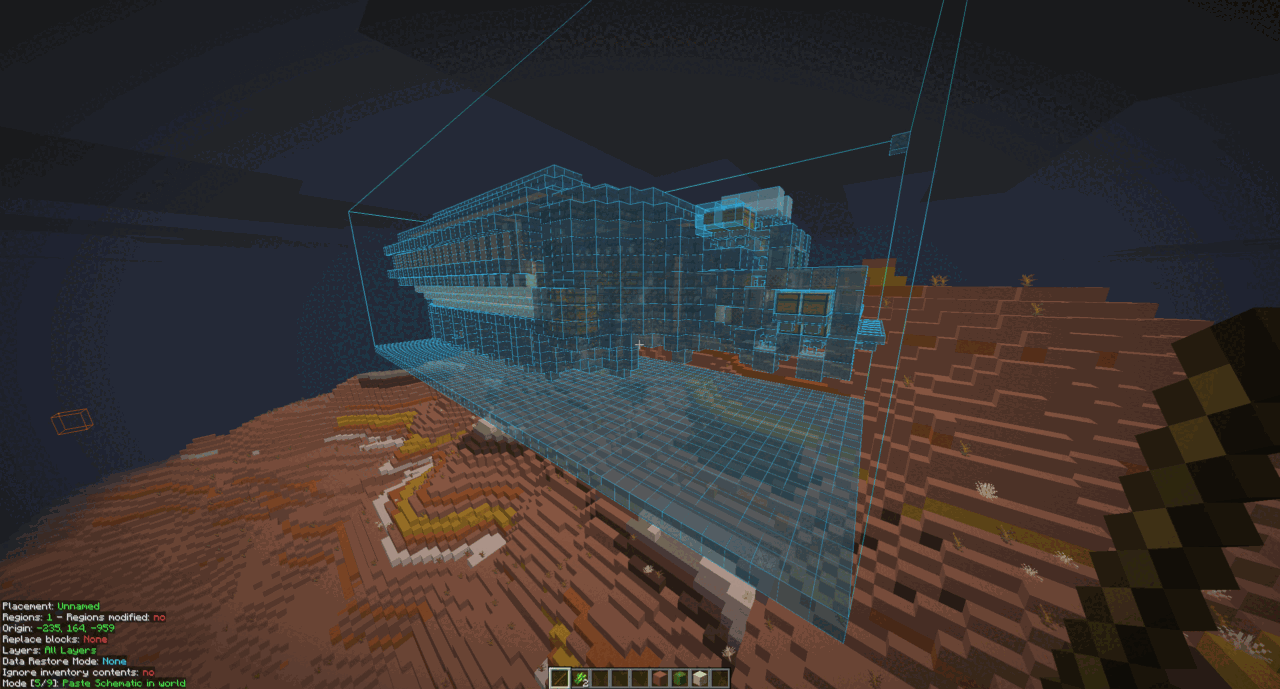
.litematic files are a schematic format commonly used with the Litematica mod. They are popular because they let you load a build as an overlay, check placement, and follow an in-game guide while building.
If you want to learn how to install schematic files first, refer to How to Install Schematics for DonutSMP. This page is about actually using Litematica once the file is already loading in-game.
Litematica uses MaLiLib's own keybind system, so the important controls live in the mod config rather than the normal Minecraft controls page. These are the defaults most players care about first:
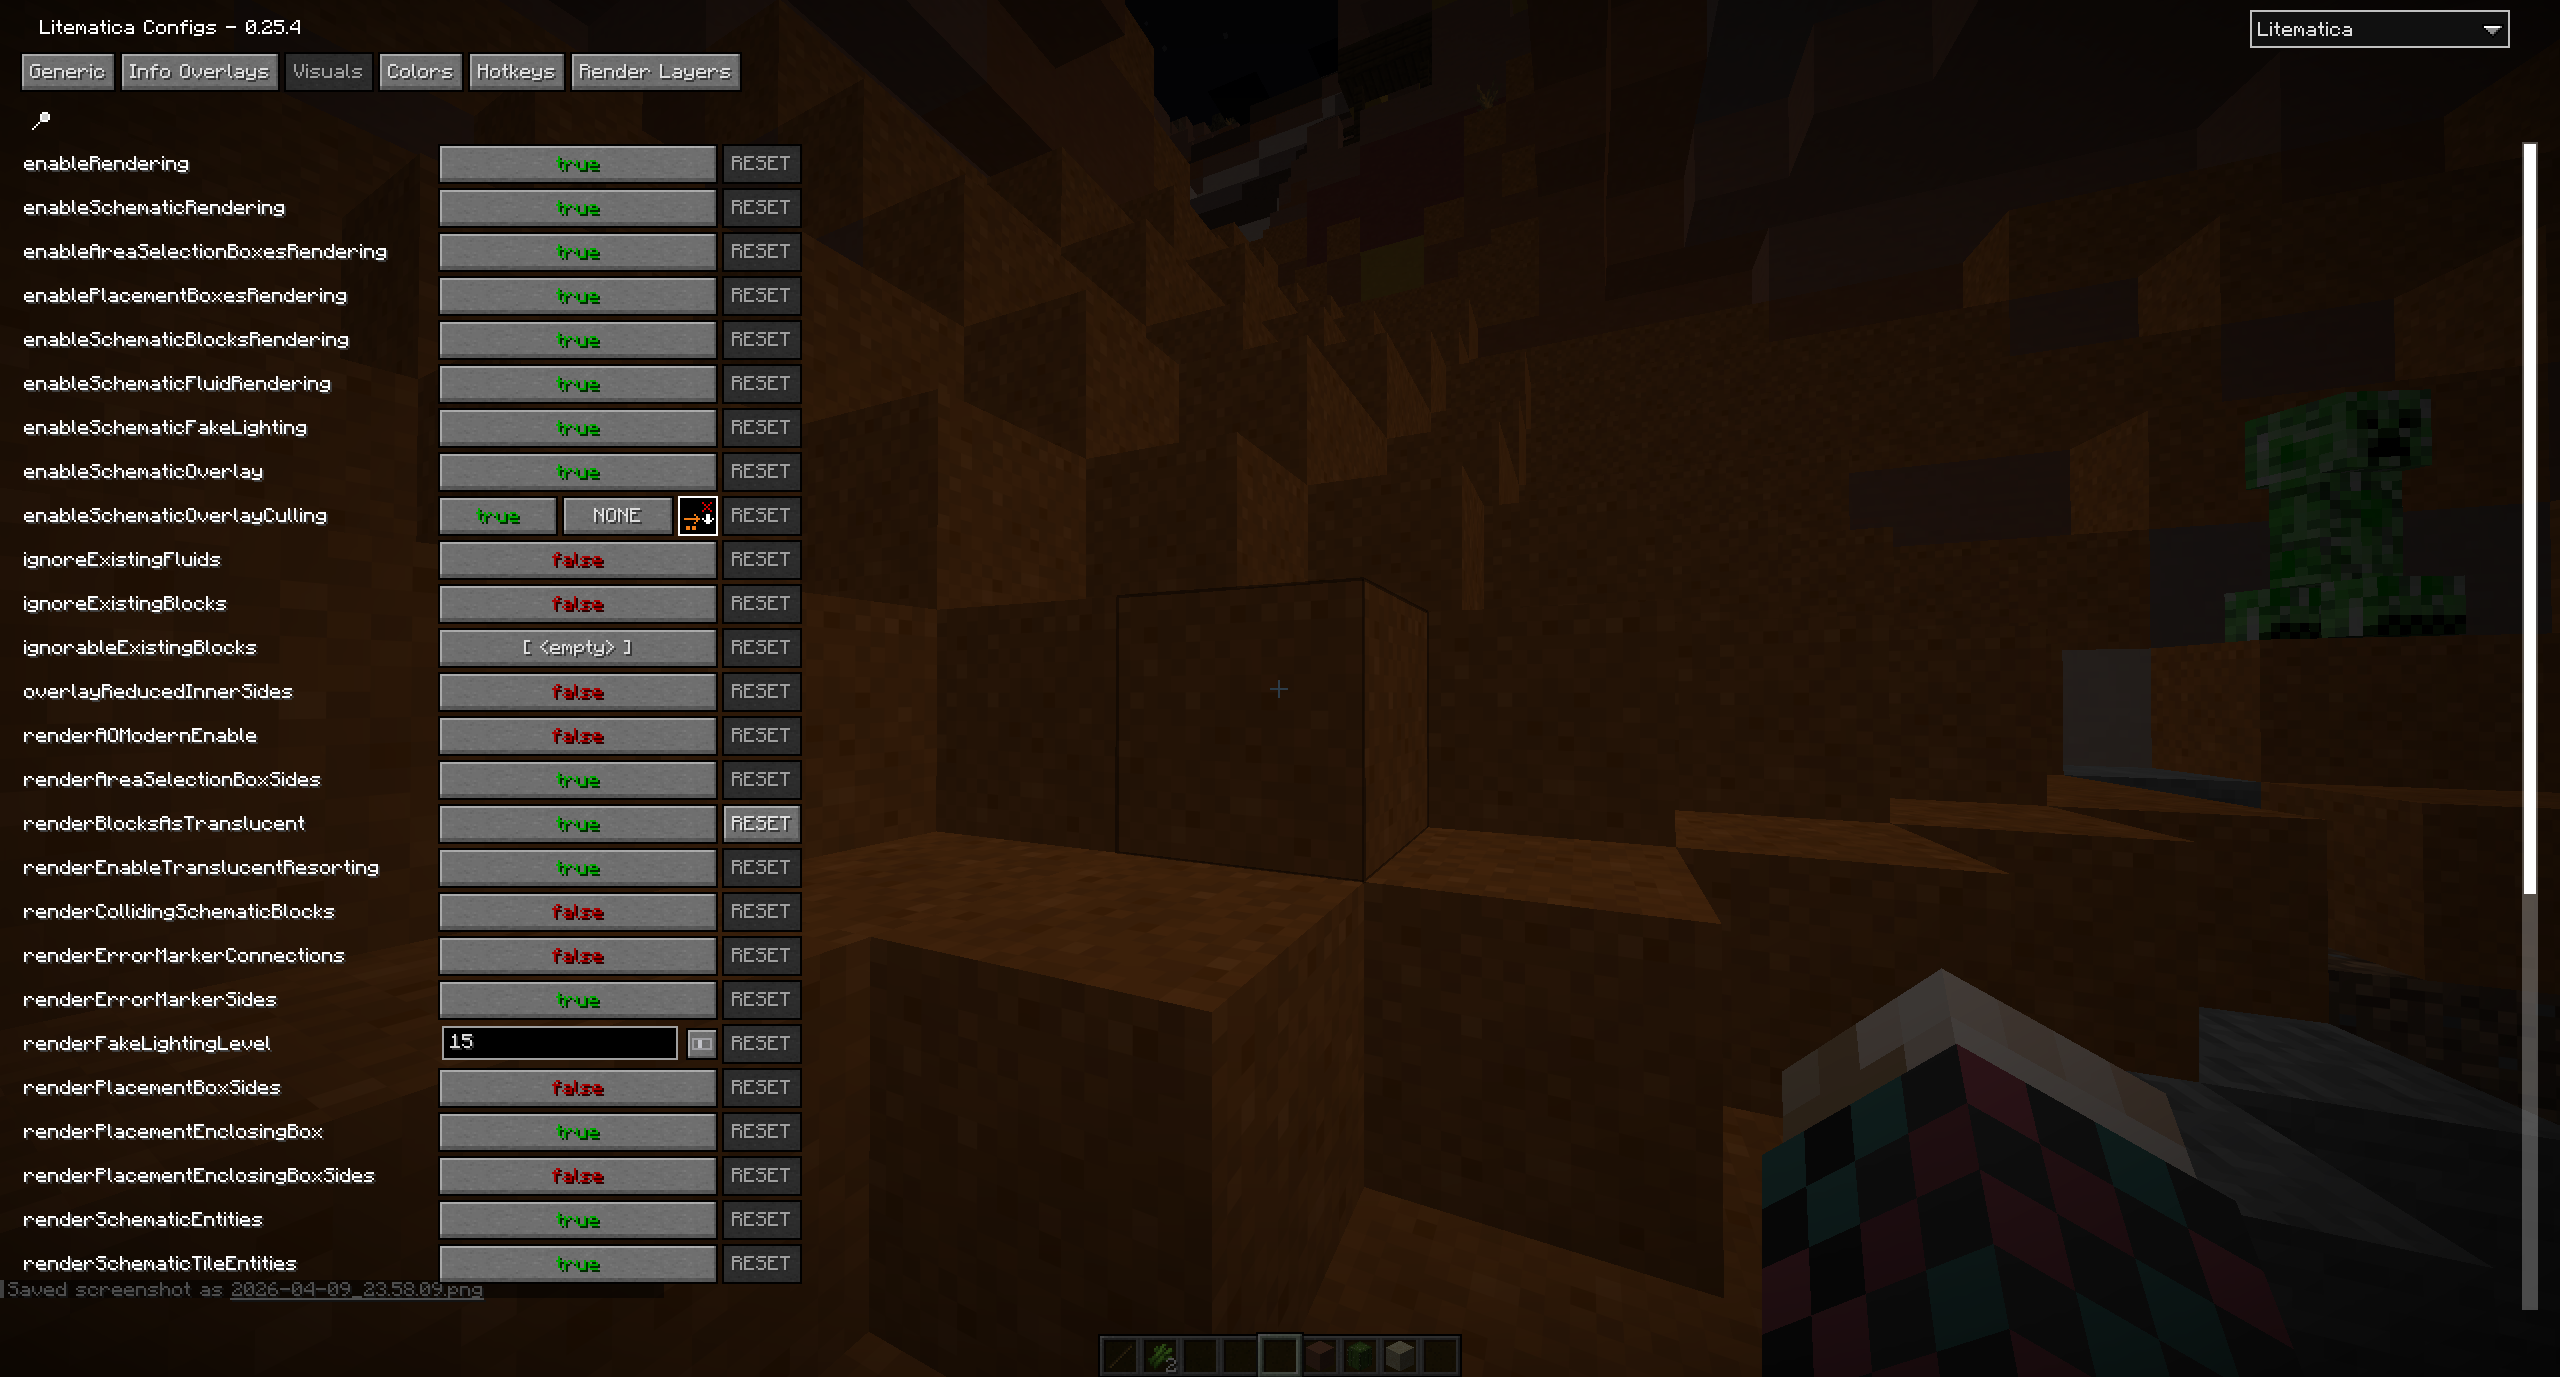
M opens the main Litematica menu.M + C opens the config and hotkeys screens.M + R toggles all rendering.M + G toggles schematic rendering.M + T toggles the tool item on or off.If a hotkey does nothing, open M + C and check the Hotkeys section. Non-QWERTY layouts can also make the displayed keys look different from US-layout examples.
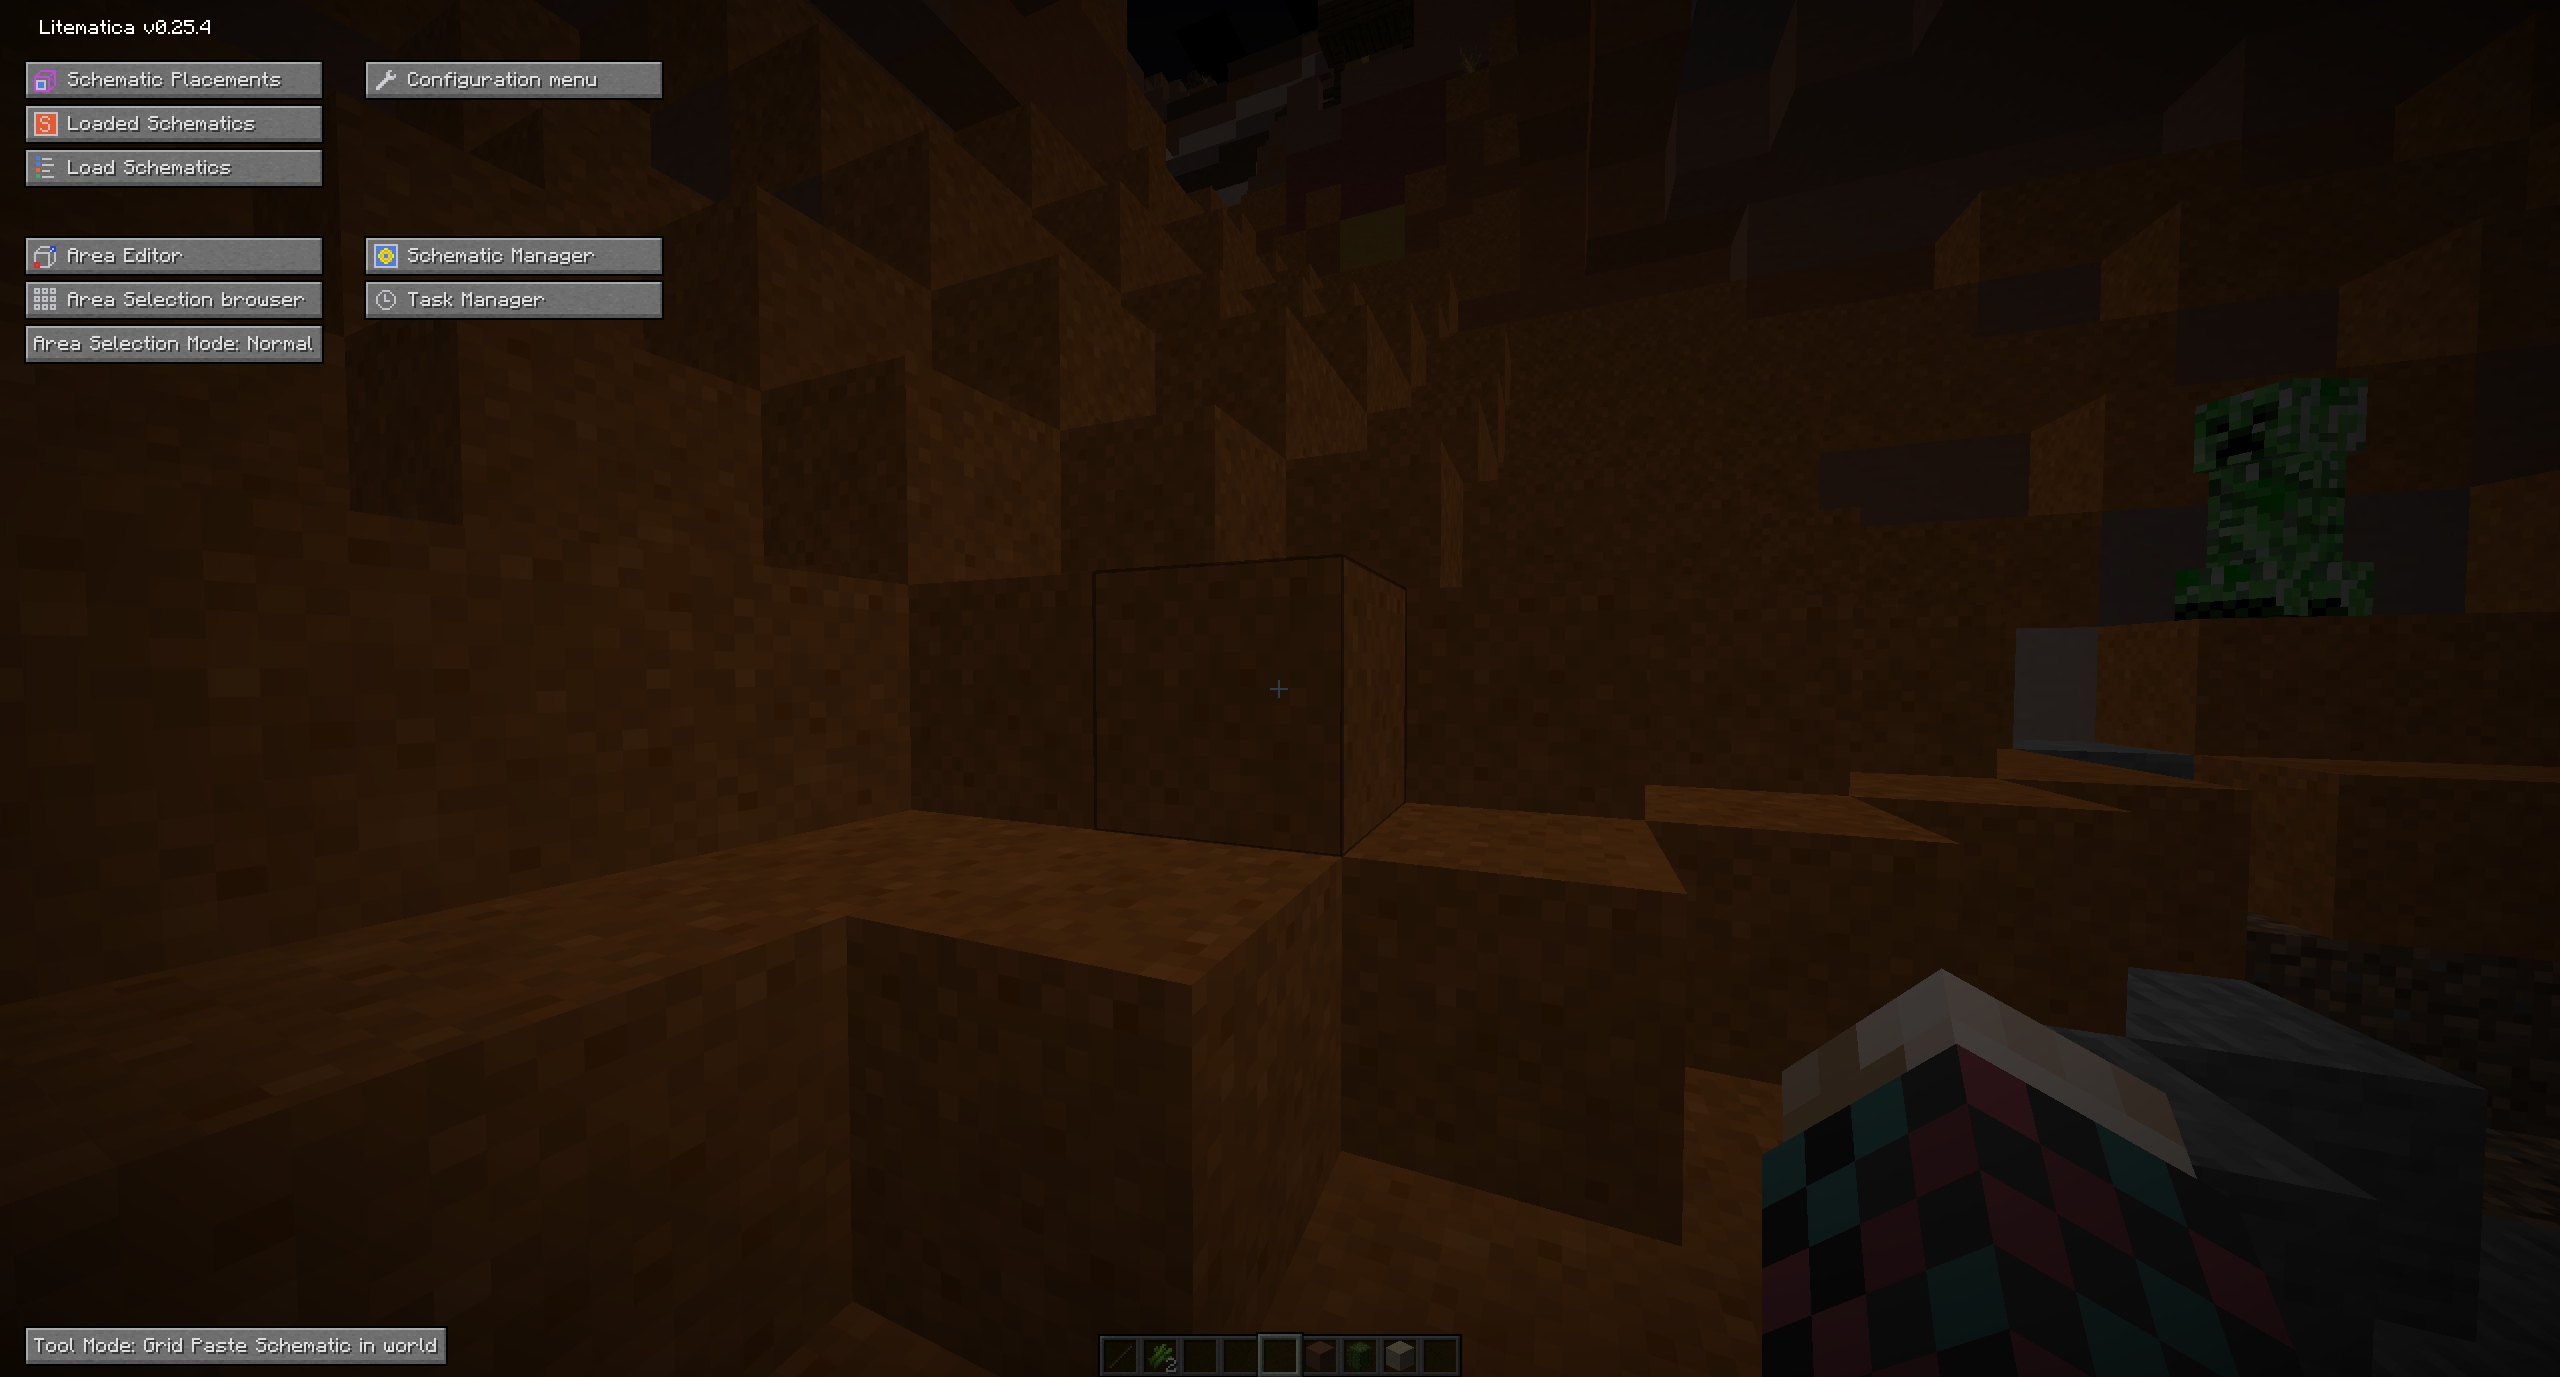
M + T before assuming the schematic is broken.
M + R or M + G first.M + T.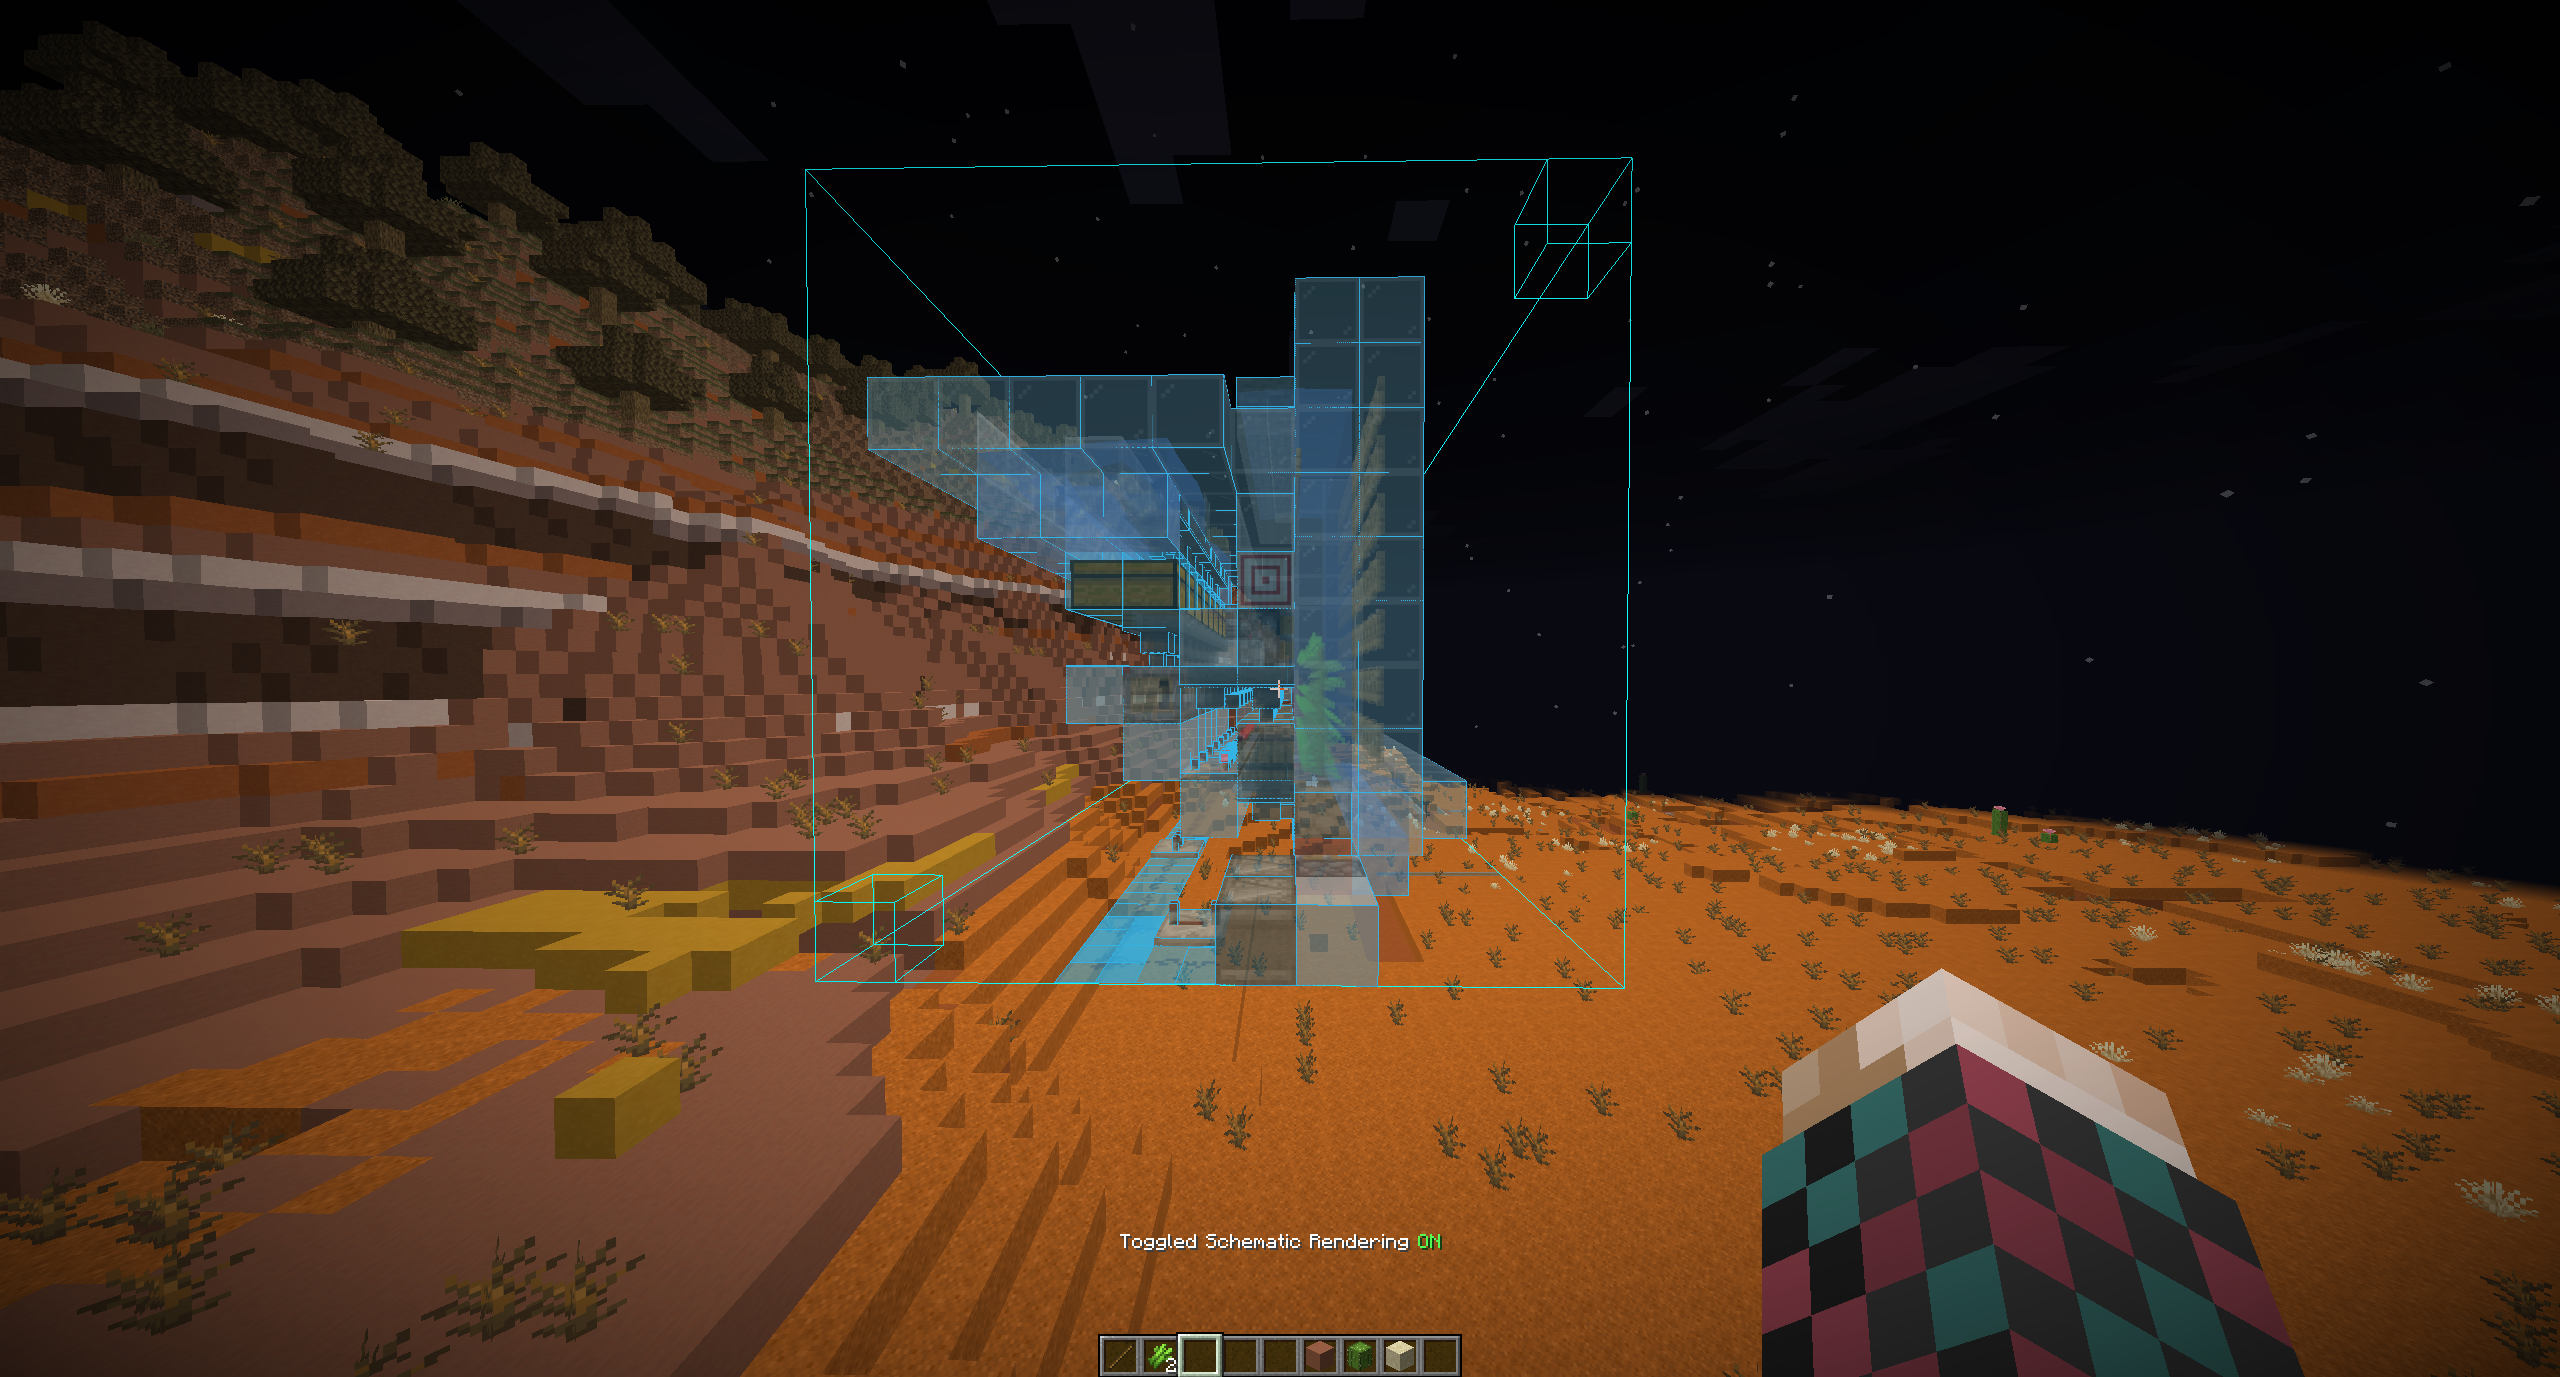
On DonutSMP, .litematic is usually the best format to work with because the common use case is following a build overlay in survival. That is why learning the Litematica controls matters more than older editor-style workflows here.
If you still need help getting the file loaded or installed in the first place, refer to How to Install Schematics for DonutSMP.
Sign in to leave a comment.
No comments yet.