The practical DonutSMP setup: install Litematica, put the file in the right folder, and get the schematic loaded in-game.
Written by maintainer of donut.build
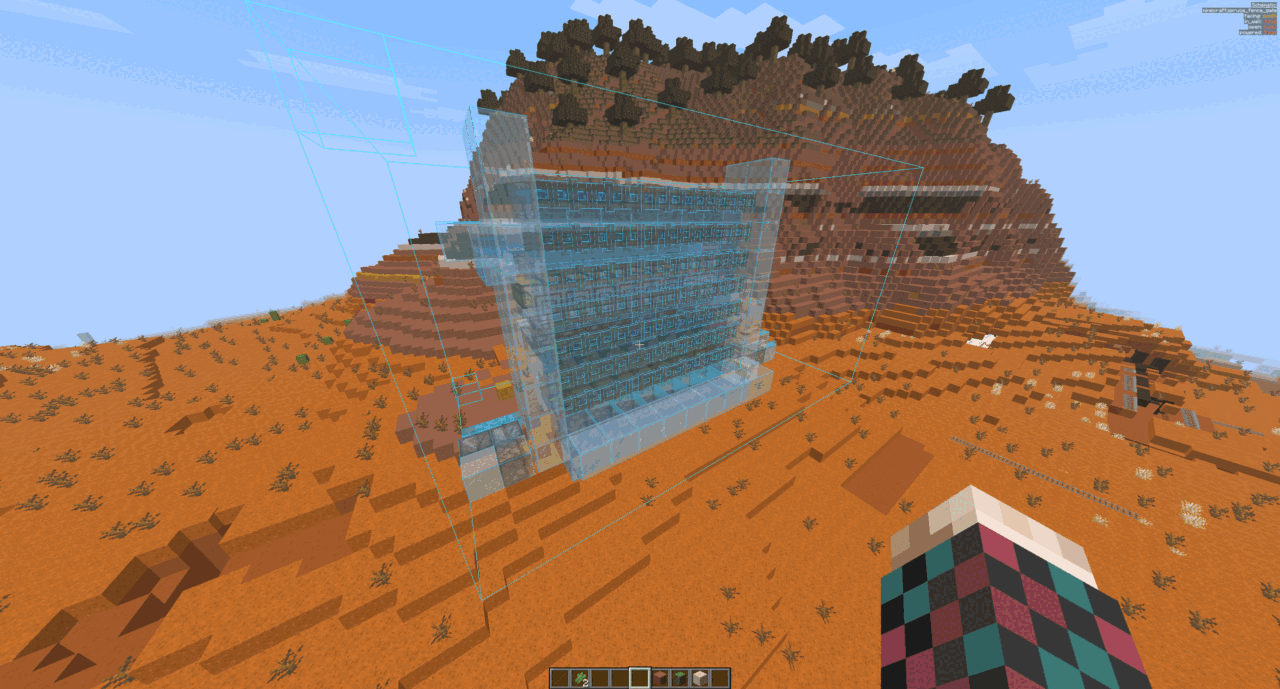
If you are playing on DonutSMP, the format and workflow you will usually want is .litematic + Litematica. That is the most common setup for following a build in survival because it gives you an in-game overlay to build against instead of relying on old editor workflows.
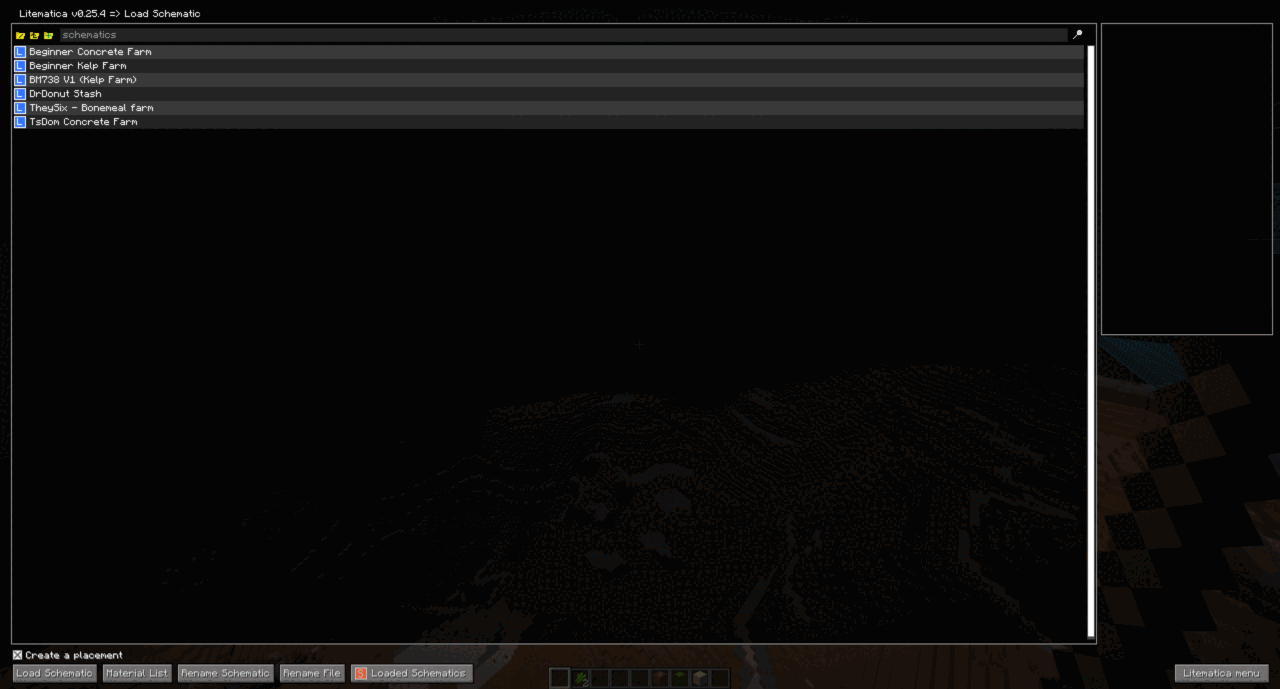
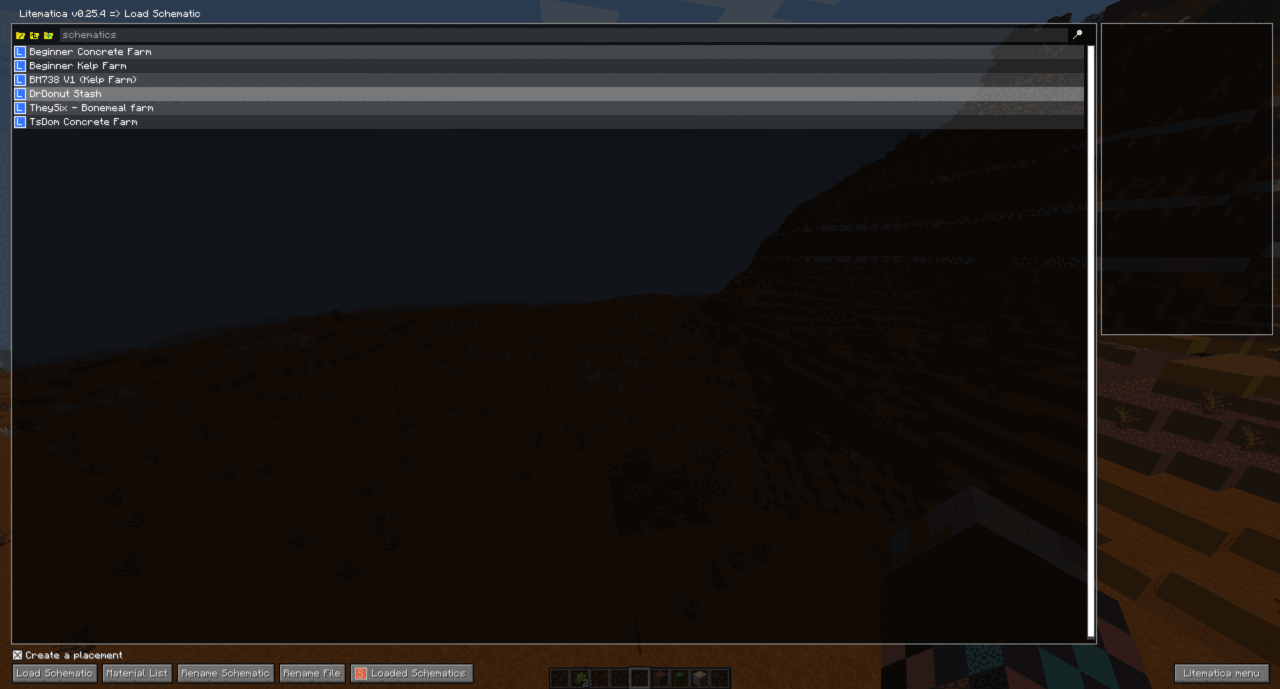
For DonutSMP players, the default answer is simple: install Litematica and its dependency MaLiLib, then load the schematic from your .minecraft/schematics/ folder. If a download gives you a .litematic file, that is usually the easiest path.
For the actual mod installation steps, use the instructions on the Modrinth pages for Litematica and MaLiLib. Those setup details can change over time, so Modrinth is the right place to check the current version, loader support, and install notes.
If you want the actual Litematica controls, hotkeys, and placement tips after setup, refer to How to Use Litematica.
.litematic when possible for DonutSMP..minecraft/schematics/.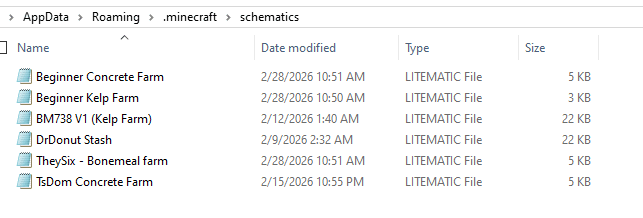
M to open the main Litematica menu.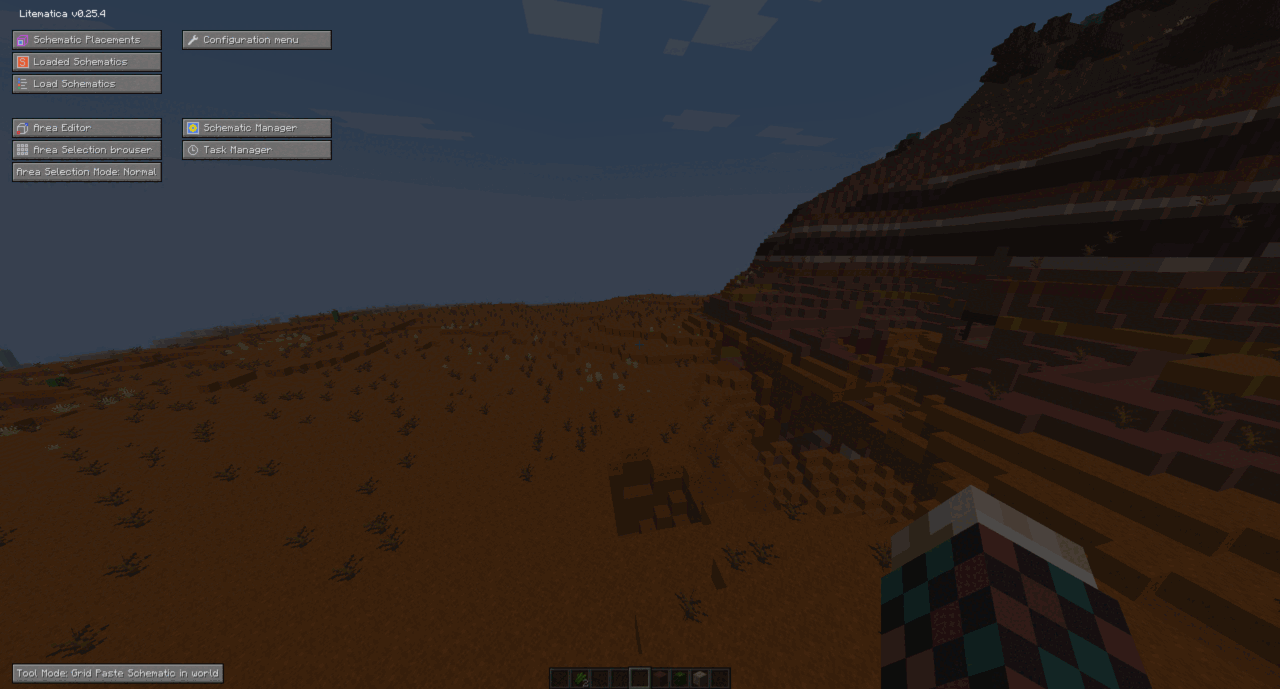
.minecraft/schematics/..schem or legacy .schematic file, it may not fit the normal DonutSMP workflow as cleanly as .litematic.If you are using donut.build builds on DonutSMP, treat Litematica as the standard path unless a guide or download clearly says otherwise. It is the most common option for getting schematic files working on DonutSMP.
Sign in to leave a comment.
No comments yet.